This article is written by Hassan Mounzer, fiancée of Malena and photographer for FashionContainer.
Having no previous experience with photography, it was a slow process to reach FashionContainer’s photo quality of today. In this post I’m sharing my personal experience as an amateur photographer and I’ll give some tips that I hope would help beginning fashion blog photographers.
When I bought my first DSLR camera “Canon EOS 600D”, in September 2012, I had no clue how to use it. Youtube was there for my rescue. I highly recommend watching and taking notes of DSLR introductory videos on Youtube (see CamCrunch Youtube Channel). You’ll probably be taking photos using the p-mode (automatic) for the first months, it’s important to have some notions related to aperture, shutter speed and ISO; as these parameters are the ones you are going to manipulate to get the perfect light, i.e., the perfect photo.
Definitions
- Aperture: works like the pupil of your eye. If you need more light, you need a bigger opening of the aperture blades.
Technically on your camera, you need to decrease the number next to the letter “f” to get more light in the photo.
- Shutter speed is the speed you set to take the photo. A quick speed will capture a fast movement but it will give less light to the photo.
Technically on your camera, the shutter speed is shown as a ratio per second. For example, when it’s 1/250 it means that the photo will be taken in a 1/250 of a second.
- ISO gives more light if it’s increased and vice versa.
I only started using the manual mode after 4-5 months and it was a very tricky job and it needs some patience. The camera came with two lenses a 18-55mm and a 55-250mm. I quickly forgot about the 18-55mm lens and I start using the 55-250mm lens as it gives a better zoom. This lens made a great job you can check one of many examples here or here
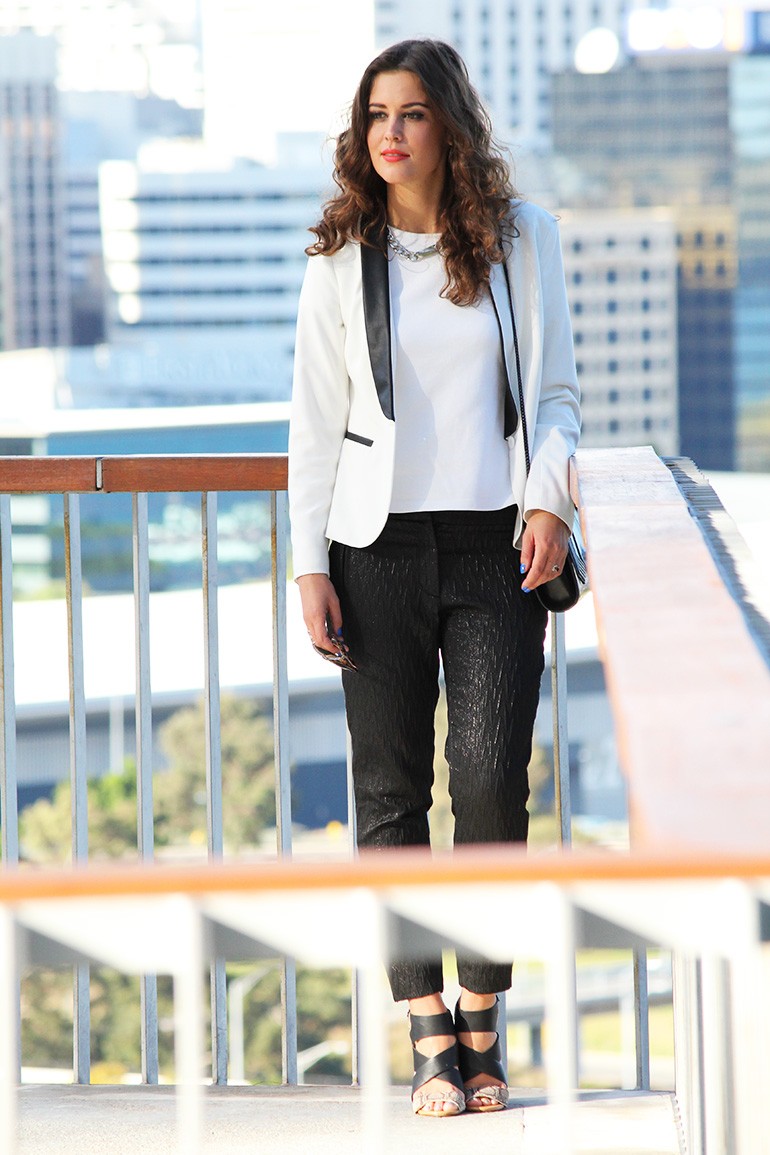
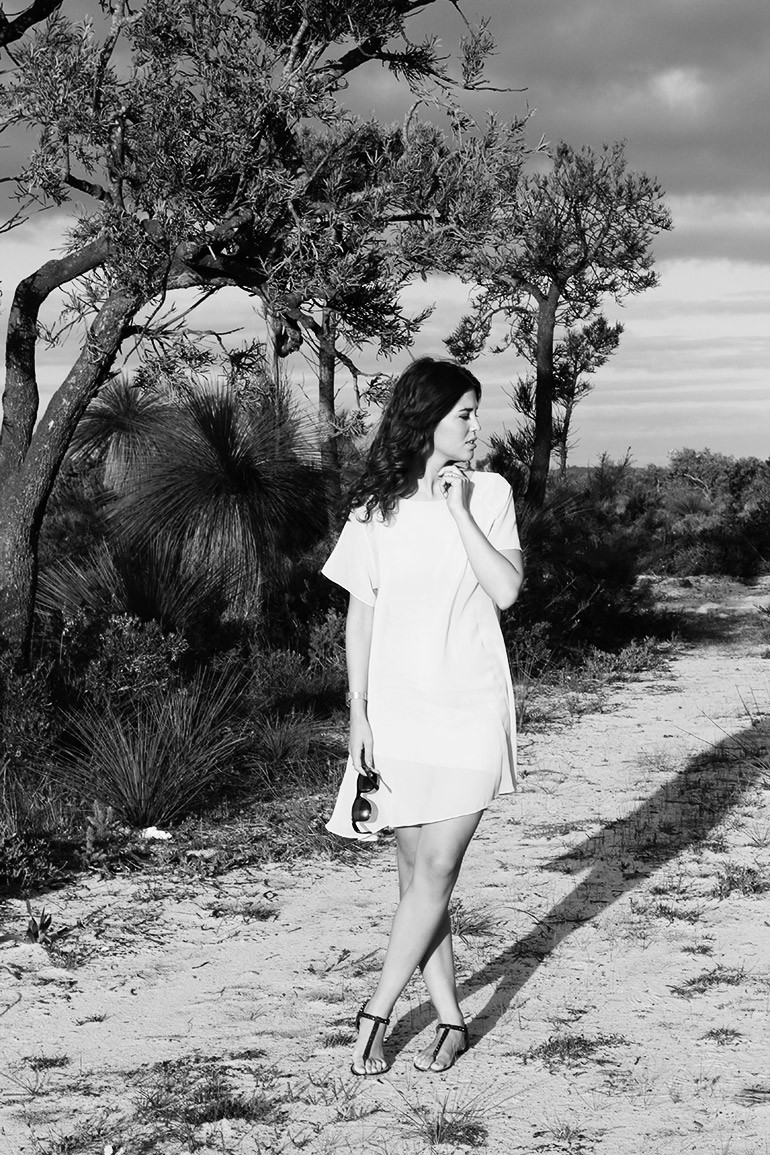
Photo taken with 55-250mm lens which came with our Canon 600D.
In July 2013, I bought the “50mm f1.4 USM” lens. This is a small light lens with no zoom but it can reach a very low aperture. This feature makes this lens perfect for low light situation and ideal to create a blurry background. The auto-focus could be better. This lens is perfect when the subject is in the centre of the photograph. Examples are here or here
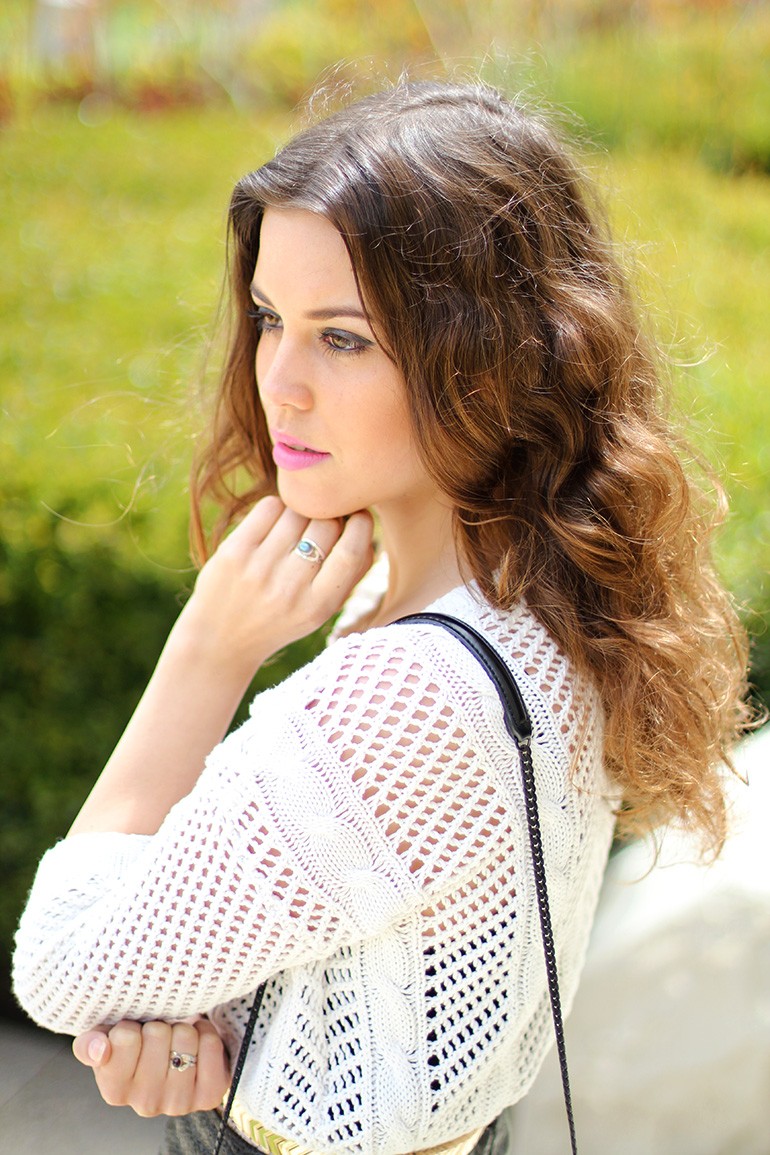
Photo taken with 50mm f1.4 USM lens.
Being annoyed by the zoom limitation, I bought the “EF 24-105mm f/4L IS USM” lens. It’s a great lens with awesome auto-focus and nice zoom, but it doesn’t reach the low aperture as the last one. Check this post for a quick idea what this lens can do.
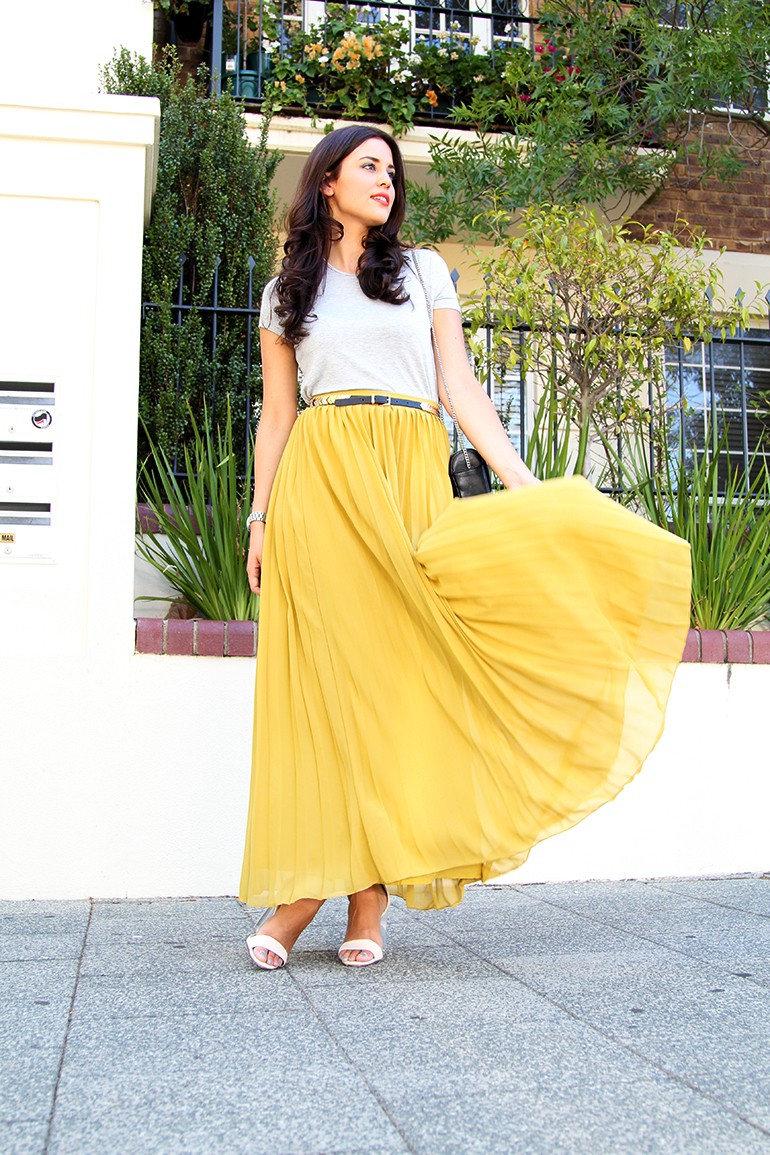
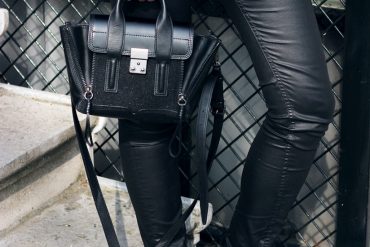
Photo taken with EF 24-105mm f/4L IS USM lens
Nowadays, all the photographs taken for Fashion Container are made with either the 50mm f1.4 USM” lens (for a blurry background) or the “EF 24-105mm f/4L IS USM” lens. For example in the blog post Cobalt Scuba Skirt, the first photo was taken using the “50mm f1.4 USM” lens with a 1.8 aperture, a shutter speed of 1/2000 and ISO 100. The third photo was taken using the “EF 24-105mm f/4L IS USM” lens under a 4.5 aperture, a shutter speed of 1/400 and ISO 100.
Practical Tips
- Take the photos using the live view through the screen. This makes it easier for you to know that you’re getting the result you want.
- When you start using the manual mode, it’s very handy to learn the short cuts to easy change the different settings on your camera. While you’re on location shooting an outfit, you don’t have time to figure it all out again so have a look at this video and memorize.
- Use the Standard picture style “S”. This mode gives the most natural result.
- I recommend to take fashion photos in the shade (make sure that it’s not a very dark shade). When you take pictures in the shade, the light is uniform, so the colours pop out in the most natural and even way.
- Choose your locations carefully as the background contrasts can have a huge effect on the photos. If your object is standing in the shade and the setting behind is very bright, it usually doesn’t give you the best result.
- Don’t use very high ISO (try to stick to lower then 3200). When you’re using a very high ISO, it will give the pictures a high green level and thus an unnatural look.
- Don’t go less then 1/160 shutter speed if no tripod is used. Pictures shot on a very low shutter speed will easily be blurry because it captures the whole movement. If your hand is not stable, it will look blurry.
- I personally don’t use a flash for outdoor photography during day light. I love natural light in pictures most, but this is a matter of taste.
- Try shooting from different angles. For instance try a lower angle, it makes your object look a little taller and gives an interesting perspective.
- Experiment, experiment, experiment. Don’t stick to the same habits and never stop exploring; you’ll be surprised about the results.
Prices
- The Canon EOS 600D with 18-55mm and 55-250mm lenses cost $850 Australian Dollars (in 2012) from local store
- 50mm f1.4 USM lens cost $400 Australian Dollars (in 2013) from local store
- EF 24-105mm f/4L IS USM lens cost $800 Australian Dollars (in 2013) from the cameraparadise.com (low priced and reliable website)